When making Carnations, you have to make the bud first and let it dry, before you can add on the additional layers of petals.
I started with the red Carnations today, and was going to do the white and the blue also. I managed to get only the red done, lol.
I started with making floral tape buds, 25 for each of the three colors:

Here they are all finished:

Then rolled out red gumpaste (with my KA Pasta Roller of course!), then cut out the Carnation flower with the Quick Carnation Cutter from FMM.

Then 'frilled' the edges of the flower with the veiner portion of a dresden tool. Before cutting out the flower with the cutter, I rub a small amount of Crisco over the gumpaste. It helps the gumpaste to release easier from the cutter, and makes frilling easier also.

The put the frilled flower on a piece of thin foam, brush egg white over the entire surface of the petal, and insert a floral tape bud in the center. Using the foam, I folded the petal in half (around the bud).

Then I folded and glued to form an 'S' shape. This now has to dry before any more can be added.
I have 25 of each color to make, 10 of which are going to stay as flower buds (only having calyx's added). So, once they are all done, I will assess each one and pick the 10 best to be buds.

............................
Here are the blue ones that I got done today! Yes, the in-process photos are from today....I figured I'd spare your eyes the challenge of looking at red gumpaste on an orange-y background (to bad my eyes weren't spared that, lol).

................................
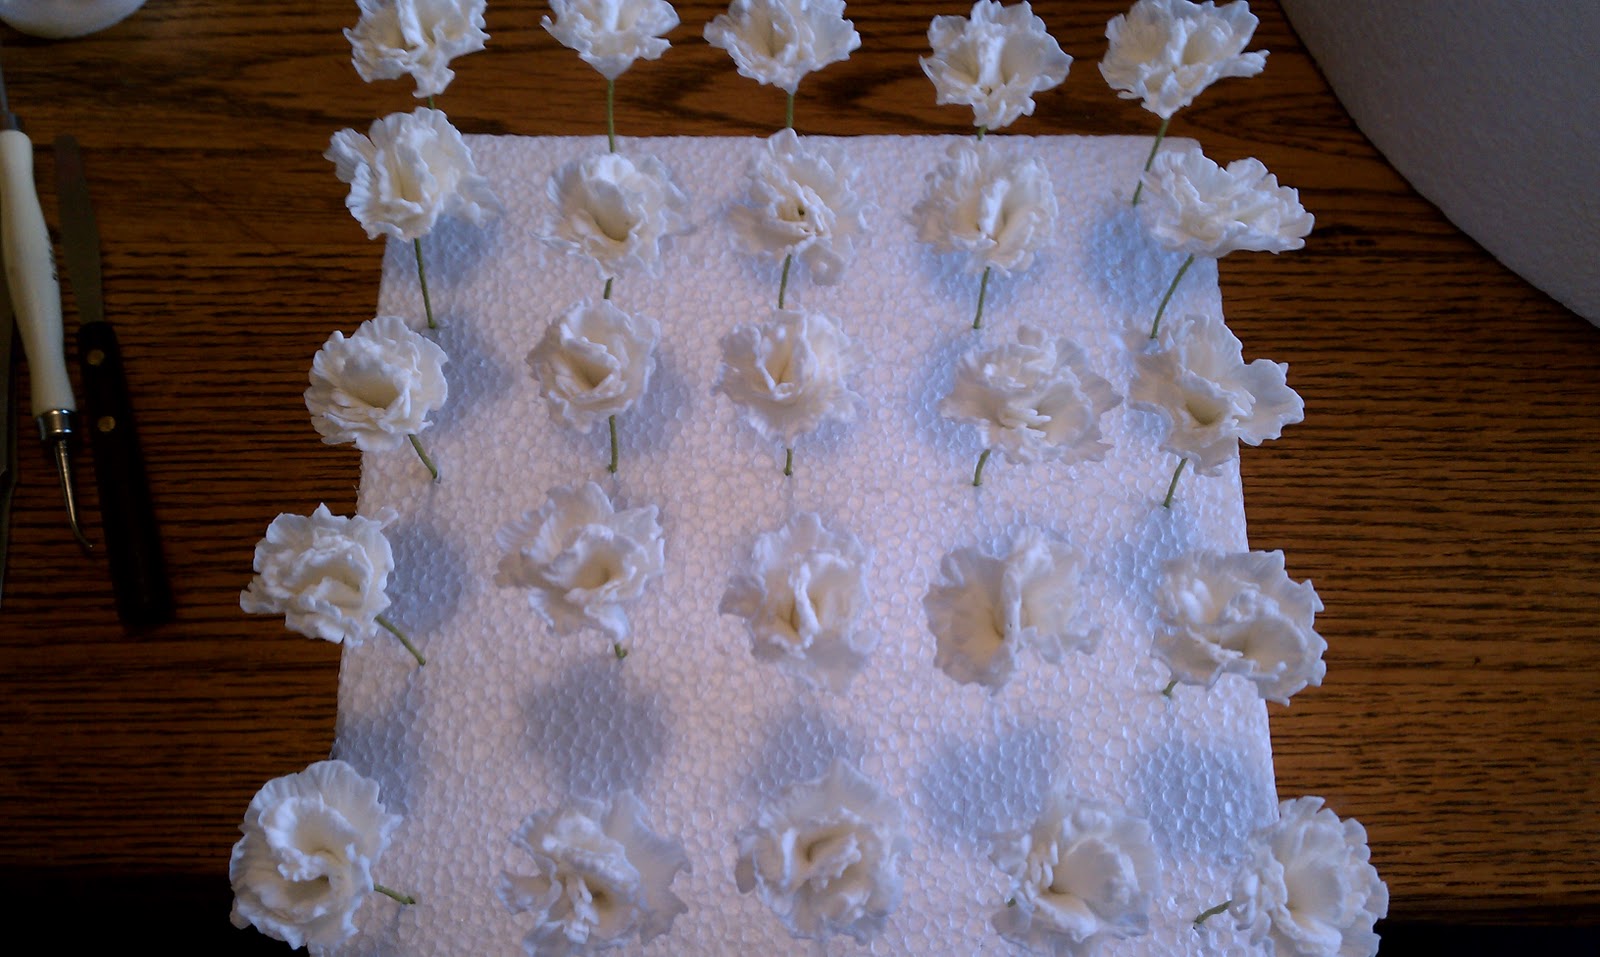
So, I managed to finish the white Carnation buds today!!!
(So, there was supposed to be a picture here of the white Carnation buds......but apparently I was in such a rush to add the additional petal that I forgot to snap a pic, lol)
I took a look at all the buds, to assess which ones would be left as buds, and realized that none of them were really pretty enough to leave as buds, so made the decision to put a second set of petals on all of the buds. While doing this, I decided I liked the size of the flower with just one additional set of petals, so will not be putting more than two on each flower.
Compared to making the buds, the next set of petals was EASY!!!! I, again, rolled out gumpaste with my Kitchen Aid pasta roller (there would be far fewer gumpaste flowers made without this!!!), and cut out the flowers using the Easy Carnation Cutter from FMM (I have no idea what size I have, I didn't realize there was more than one, lol!). I then frilled the edge of the petals that same as I did for the bud, but went about half way down the individual petals (so to speak), so there was more frilling than the buds had. Then brushed egg white on the center, unfrilled, part. Placed the petal on a thin piece of foam and stuck the bud through the center of the petal and the foam. Then using the foam/fingers, pressed the petal up against the dried bud. Then set aside to dry.
Here are the red Carnations, all finished except for dusting:

Here are the blue ones:

I did not get to the white ones today - that's tomorrow project :) They all still need dusting and calyx's, but I will tackle that another day!
..............................
I finished the white Carnations today!! There isn't really much more to say about them, so here they are:
Here are all the Carnations together:

...........................................
As with all flowers, the next step is to dust them and bring them to life. The intention was the have three sets of carnations: red, white and blue ones. In the process of dusting them, however, it became apparent that the solid white ones were going to be a little boring compared with the vibrant red and blue that I was getting. So...I decided to dust just the edges of the white ones - half with blue and half with red. OH MY, they were gorgeous!!
Here they are, all dusted: (the blue and red ones were dusted with white on their tips to highlight them)

Here are some close-up pictures of the blue and white/blue carnations:


By the time I got to dusting the red ones, I was in a time crunch and did not think to take up close pictures of them.
~Chelle
I remember how much you hated those first 100 carnations. I also remember how you forgot them at home and didn't realize until we were almost in NY!!!!!! :-)
ReplyDeleteHahahaha, yup!!!!!!!!!!
ReplyDeleteThanks for sharing this - I have a lot of carnations to make for a wedding cake soon and this has inspired me!
ReplyDelete